php artisan make:event <event-class>
在這裏,<event-class>應使用事件類的名稱來代替。創建的類將被存儲在 app\Events 目錄。
php artisan handler:event <handler-class> --event = <event-class>
在這裏,<event-class>應使用我們在步驟1來代替應,<handler-class> 創建事件類的名稱使用處理程式類的名稱來取代。新創建的處理程式類將被存儲在app\Handlers\Events 目錄。
現在,我們需要註冊該事件在檔 - app\Providers\EventServiceProvier.php。 此檔包含一個數組:$listen。在這個數組,我們需要事件類添加作為鍵以及事件處理程式類作為它的值。
最後一步是觸發使用事件門面觸發事伯。fire()方法由事件類的對象調用。事件可以觸發如下 -
Event::fire(<Event Class Object>);
實例
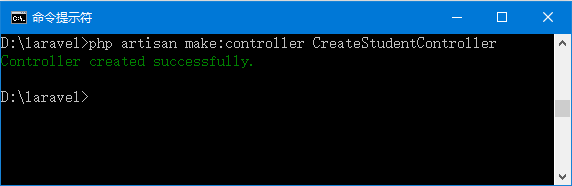
php artisan make:controller CreateStudentController

app/Http/Controllers/CreateStudentController.php
<?php
namespace App\Http\Controllers;
use Illuminate\Http\Request;
use DB;
use App\Http\Requests;
use App\Http\Controllers\Controller;
use App\Events\StudentAdded;
use Event;
class CreateStudentController extends Controller {
public function insertform(){
return view('stud_add');
}
public function insert(Request $request){
$name = $request->input('stud_name');
$age = $request->input('stud_age');
DB::insert('insert into student (name,age) values(?, ?)',[$name, $age]);
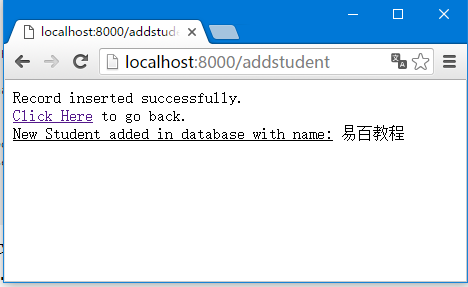
echo "Record inserted successfully.<br/>";
echo '<a href = "/event">Click Here</a> to go back.';
//firing an event
Event::fire(new StudentAdded($name));
}
}
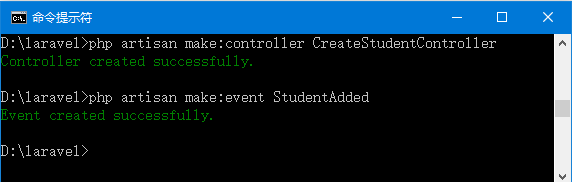
php artisan make:event StudentAdded
App\Events\StudentAdded.php
<?php
namespace App\Events;
use App\Events\Event;
use Illuminate\Queue\SerializesModels;
use Illuminate\Contracts\Broadcasting\ShouldBroadcast;

class StudentAdded extends Event {
   use SerializesModels;
   public $name;

   public function __construct($name) {
      $this->name = $name;
   }
   public function broadcastOn() {
      return [];
   }
}
第9步 - 創建一個事件處理檔在 app\Handlers\Events\HandleNewStudentAdded.php,複製以下代碼到該檔中。
app\Handlers\Events\HandleNewStudentAdded.php
<?php
namespace App\Handlers\Events;
use App\Events\StudentAdded;
use Illuminate\Queue\InteractsWithQueue;
use Illuminate\Contracts\Queue\ShouldQueue;

class HandleNewStudentAdded {
   protected $name;

   public function __construct() {
      //
   }
   public function handle(StudentAdded $event) {
      $this->name = $event->name;
      echo "<br><u>New Student added in database with name: </u>".$this->name;
   }
}
第10步 - 現在,我們需要添加事件類和處理程式類存儲在檔 - app\Providers\EventServiceProvider.php
app\Providers\EventServiceProvider.php
<?php
namespace App\Providers;
use Illuminate\Contracts\Events\Dispatcher as DispatcherContract;
use Illuminate\Foundation\Support\Providers\EventServiceProvider as ServiceProvider;

class EventServiceProvider extends ServiceProvider {
   /**
   * The event listener mappings for the application.
   *
   * @var array
   */
   protected $listen = [
      'App\Events\SomeEvent' => [
         'App\Listeners\EventListener',
      ],

      'App\Events\StudentAdded' => [
         'App\Handlers\Events\HandleNewStudentAdded',
      ],
   ];
   /**
   * Register any other events for your application.
   *
   * @param \Illuminate\Contracts\Events\Dispatcher $events
   * @return void
   */
   public function boot(DispatcherContract $events) {
      parent::boot($events);
      //
   }
}
app/Http/routes.php
Route::get('event','CreateStudentController@insertform');
Route::post('addstudent','CreateStudentController@insert');
http://localhost:8000/event
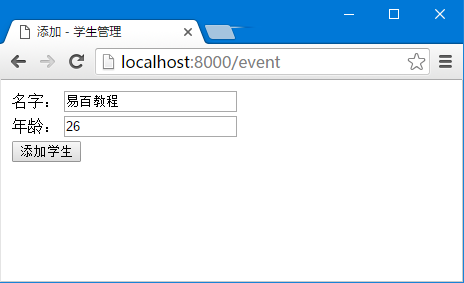
第14步 - 增加學生的姓名,然後點擊“添加學生”按鈕,將您重定向到下麵的螢幕。看看灰色高亮行。 我們已經指定處理方法,在一個事件被觸發執行HandleNewStudentAdded類的處理方法時添加此行。