在使用Node.js創建實際“Hello, World!”應用程式之前,讓我們看看Node.js的應用程式的部分。Node.js應用程式由以下三個重要組成部分:
-
導入需要模組: 我們使用require指令加載Node.js模組。
-
創建伺服器: 伺服器將監聽類似Apache HTTP Server客戶端的請求。
-
讀取請求,並返回回應: 在前面的步驟中創建的伺服器將讀取客戶端發出的HTTP請求,它可以從一個流覽器或控制臺並返回回應。
創建Node.js應用
步驟 1 - 導入所需的模組
我們使用require指令來加載HTTP模組和存儲返回HTTP,例如HTTP變數,如下所示:
var http = require("http");
步驟 2: 創建服務
在接下來的步驟中,我們使用HTTP創建實例,並調用http.createServer()方法來創建伺服器實例,然後使用伺服器實例監聽相關聯的方法,把它綁定在端口8081。 通過它使用參數的請求和回應函數。編寫示例實現返回 "Hello World".
http.createServer(function (request, response) {

   // Send the HTTP header
   // HTTP Status: 200 : OK
   // Content Type: text/plain
   response.writeHead(200, {'Content-Type': 'text/plain'});

   // Send the response body as "Hello World"
   response.end('Hello World\n');
}).listen(8081);

// Console will print the message
console.log('Server running at http://127.0.0.1:8081/');
上面的代碼創建監聽即HTTP伺服器。在本地電腦上的8081端口等到請求。
步驟 3: 測試請求和回應
讓我們把步驟1和2寫到一個名為main.js的檔,並開始啟動HTTP伺服器,如下所示:
var http = require("http");

http.createServer(function (request, response) {

   // Send the HTTP header
   // HTTP Status: 200 : OK
   // Content Type: text/plain
   response.writeHead(200, {'Content-Type': 'text/plain'});

   // Send the response body as "Hello World"
   response.end('Hello World\n');
}).listen(8081);

// Console will print the message
console.log('Server running at http://127.0.0.1:8081/');
現在執行main.js來啟動伺服器,如下:
$ node main.js
驗證輸出。伺服器已經啟動
Server running at http://127.0.0.1:8081/
發出Node.js伺服器的一個請求
在任何流覽器中打開地址:http://127.0.0.1:8081/,看看下麵的結果。
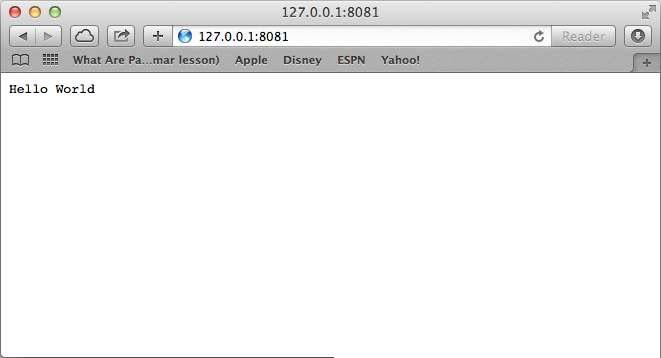
恭喜,第一個HTTP伺服器運行並回應所有的HTTP請求在端口8081。
上一篇:
Linux安裝Node.js(源碼編譯安裝)
下一篇:
Node.js快速入門