這是一個使用Ultrasonic HC-SR04設備和Arduino(Arduino UNO)構建聲納系統的物聯網專案。聲納系統檢測到其範圍內的物體(角度和距離)並在筆記本電腦(監視器)螢幕上顯示其外觀。聲納使用聲波的回聲原理通過物體。
硬體要求
- Arduino UNO主板
- 用於Arduino UNO的USB電纜連接器
- Ultra Sonic HC-SR04
- 跳線電線(公母線)
- 微伺服器SG90
軟體要求
- Arduino軟體
- Processing軟體
聲納系統的工作原理
Ultra Sonic HC-SR04以40,000Hz的頻率發射超聲波,在空中傳播。如果路徑中有物體或障礙物,則聲波會與物體碰撞並彈回Ultra Sonic模組。對象的角度和距離顯示在螢幕上(監視器)。
在這個專案中,我們使用處理應用程式來顯示聲納範圍。
在為Sonar系統編寫程式之前,首先要通過超聲波感測器HC-SR04和Arduino進行距離計算,這裏要瞭解超聲波設備的工作原理。
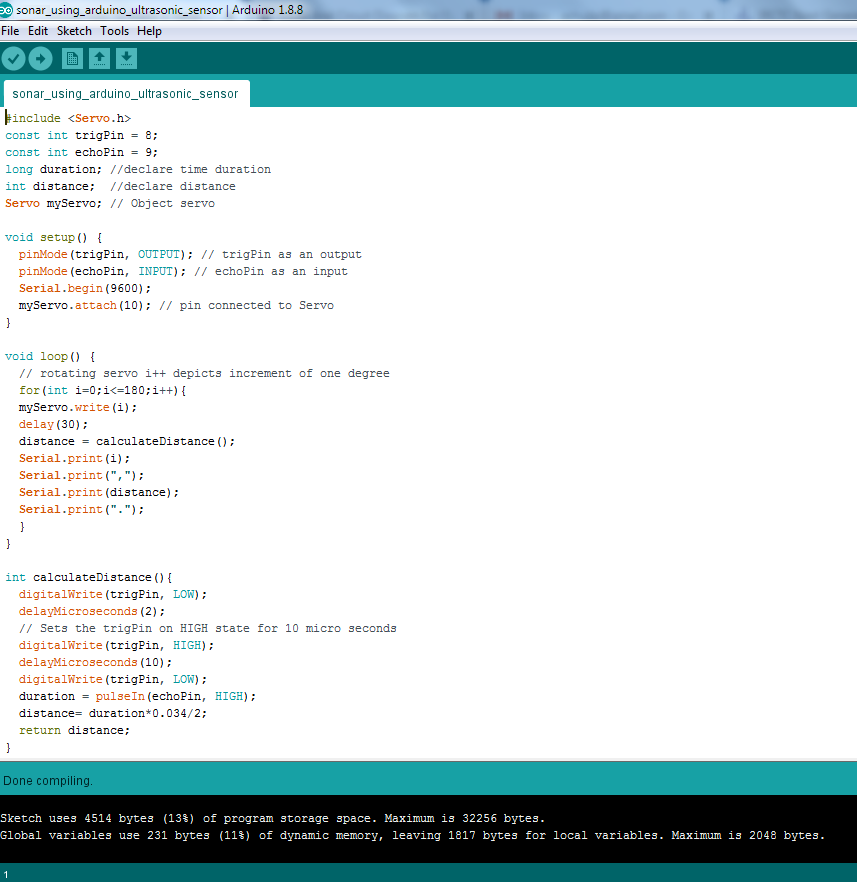
編寫Arduino程式,使用Ultra Sonic HC-SR04測量距離並旋轉伺服電機。示例代碼如下:
#include <Servo.h>
const int trigPin = 8;
const int echoPin = 9;
long duration; //declare time duration
int distance;  //declare distance
Servo myServo; // Object servo

void setup() {
  pinMode(trigPin, OUTPUT); // trigPin as an output
  pinMode(echoPin, INPUT); // echoPin as an input
  Serial.begin(9600);
  myServo.attach(10); // pin connected to Servo
}

void loop() {
  // rotating servo i++ depicts increment of one degree
  for(int i=0;i<=180;i++){
  myServo.write(i);
  delay(30);
  distance = calculateDistance();
  Serial.print(i);
  Serial.print(",");
  Serial.print(distance);
  Serial.print(".");
  }
  // Repeats the previous lines from 180 to 0 degrees
  for(int i=180;i>0;i--){
  myServo.write(i);
  delay(30);
  distance = calculateDistance();
  Serial.print(i);
  Serial.print(",");
  Serial.print(distance);
  Serial.print(".");
  }
}

int calculateDistance(){
  digitalWrite(trigPin, LOW);
  delayMicroseconds(2);
  // Sets the trigPin on HIGH state for 10 micro seconds
  digitalWrite(trigPin, HIGH);
  delayMicroseconds(10);
  digitalWrite(trigPin, LOW);
  duration = pulseIn(echoPin, HIGH);
  distance= duration*0.034/2;
  return distance;
}
編譯上面代碼,如下所示:

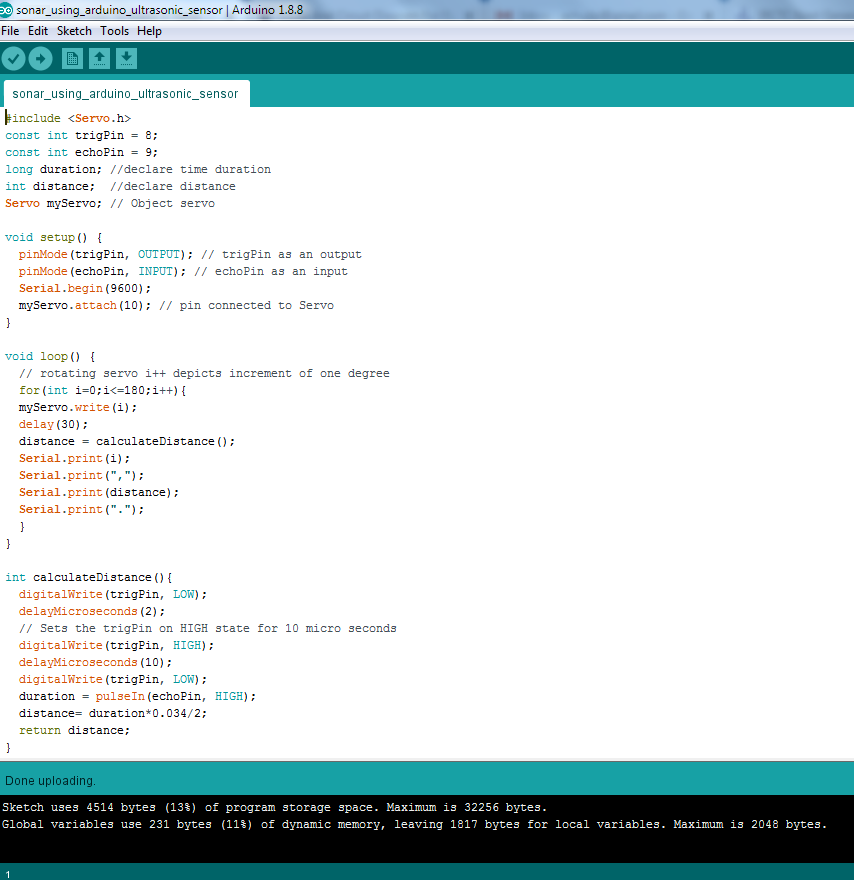
現在,使用Arduino USB連接器將Arduino設備連接到個人電腦並上傳程式。

數字電路圖
Ultrasonic Sensor HC-SR04           Arduino UNO
VCC    -------------------------------->    5v
Trig    -------------------------------->    Pin 8
Echo    -------------------------------->    Pin 9
GND    -------------------------------->    GND

Micro Servo Motor SG90           Arduino UNO
Orange wire    ---------------------->    Pin 10
Red wire     ---------------------->      3.3v
Brown wire    ---------------------->    GND
現在,將風扇的較大部分放在伺服電機的旋轉輪上。將超聲波設備放在伺服電機上使其旋轉(可以使用雙面膠帶)。
在Processing IDE中測試以下代碼並運行它。處理IDE顯示物體進入超聲波設備範圍時的角度距離。
import processing.serial.*;
import java.awt.event.KeyEvent;
import java.io.IOException;
Serial myPort;// defubes variables
String angle="";
String distance="";
String data="";
String noObject;
float pixsDistance;
int iAngle, iDistance;
int index1=0;
int index2=0;
PFont orcFont;
void setup() {
  size (1366, 768);
  smooth();
  myPort = new Serial(this,"COM3", 9600); // change this accordingly
  myPort.bufferUntil('.'); // reads the data from the serial port up to the character ?.?. So actually it reads this: angle,distance.
}
void draw() {
  fill(98,245,31);
  // simulating motion blur and slow fade of the moving line
  noStroke();
  fill(0,4);
  rect(0, 0, width, height-height*0.065);
  fill(98,245,31); // green color
  // calls the functions for drawing the radar
  drawRadar();
  drawLine();
  drawObject();
  drawText();
}
void serialEvent (Serial myPort) { // starts reading data from the Serial Port
// reads the data from the Serial Port up to the character ?.? and puts it into the String variable ?data?.
  data = myPort.readStringUntil('.');
  data = data.substring(0,data.length()-1);
  index1 = data.indexOf(","); // find the character ?,? and puts it into the variable ?index1?
  angle= data.substring(0, index1); // read the data from position ?0? to position of the variable index1 or thats the value of the angle the Arduino Board sent into the Serial Port
  distance= data.substring(index1+1, data.length()); // read the data from position ?index1? to the end of the data pr thats the value of the distance
  // converts the String variables into Integer
  iAngle = int(angle);
  iDistance = int(distance);
}
void drawRadar() {
  pushMatrix();
  translate(width/2,height-height*0.074); // moves the starting coordinats to new location
  noFill();
  strokeWeight(2);
  stroke(98,245,31);
  // draws the arc lines
  arc(0,0,(width-width*0.0625),(width-width*0.0625),PI,TWO_PI);
  arc(0,0,(width-width*0.27),(width-width*0.27),PI,TWO_PI);
  arc(0,0,(width-width*0.479),(width-width*0.479),PI,TWO_PI);
  arc(0,0,(width-width*0.687),(width-width*0.687),PI,TWO_PI);
  // draws the angle lines
  line(-width/2,0,width/2,0);
  line(0,0,(-width/2)*cos(radians(30)),(-width/2)*sin(radians(30)));
  line(0,0,(-width/2)*cos(radians(60)),(-width/2)*sin(radians(60)));
  line(0,0,(-width/2)*cos(radians(90)),(-width/2)*sin(radians(90)));
  line(0,0,(-width/2)*cos(radians(120)),(-width/2)*sin(radians(120)));
  line(0,0,(-width/2)*cos(radians(150)),(-width/2)*sin(radians(150)));
  line((-width/2)*cos(radians(30)),0,width/2,0);
  popMatrix();
}
void drawObject() {
  pushMatrix();
  translate(width/2,height-height*0.074); // moves the starting coordinats to new location
  strokeWeight(9);
  stroke(255,10,10); // red color
  pixsDistance = iDistance*((height-height*0.1666)*0.025); // covers the distance from the sensor from cm to pixels
  // limiting the range to 40 cms
  if(iDistance<40){
    // draws the object according to the angle and the distance
    line(pixsDistance*cos(radians(iAngle)),-pixsDistance*sin(radians(iAngle)),(width-width*0.505)*cos(radians(iAngle)),-(width-width*0.505)*sin(radians(iAngle)));
  }
  popMatrix();
}
void drawLine() {
  pushMatrix();
  strokeWeight(9);
  stroke(30,250,60);
  translate(width/2,height-height*0.074); // moves the starting coordinats to new location
  line(0,0,(height-height*0.12)*cos(radians(iAngle)),-(height-height*0.12)*sin(radians(iAngle))); // draws the line according to the angle
  popMatrix();
}
void drawText() { // draws the texts on the screen
  pushMatrix();
  if(iDistance>40) {
    noObject = "Out of Range";
  }
  else {
    noObject = "In Range";
  }
  fill(0,0,0);
  noStroke();
  rect(0, height-height*0.0648, width, height);
  fill(98,245,31);
  textSize(25);
  text("10cm",width-width*0.3854,height-height*0.0833);
  text("20cm",width-width*0.281,height-height*0.0833);
  text("30cm",width-width*0.177,height-height*0.0833);
  text("40cm",width-width*0.0729,height-height*0.0833);
  textSize(40);
  text("Angle: " + iAngle +" ?", width-width*0.78, height-height*0.0277);
  text("Distance: ", width-width*0.36, height-height*0.0277);
  if(iDistance<40) {
    text(" " + iDistance +" cm", width-width*0.225, height-height*0.0277);
  }
  textSize(25);
  fill(98,245,60);
  translate((width-width*0.4994)+width/2*cos(radians(30)),(height-height*0.0907)-width/2*sin(radians(30)));
  rotate(-radians(-60));
  text("30?",0,0);
  resetMatrix();
  translate((width-width*0.503)+width/2*cos(radians(60)),(height-height*0.0888)-width/2*sin(radians(60)));
  rotate(-radians(-30));
  text("60?",0,0);
  resetMatrix();
  translate((width-width*0.507)+width/2*cos(radians(90)),(height-height*0.0833)-width/2*sin(radians(90)));
  rotate(radians(0));
  text("90?",0,0);
  resetMatrix();
  translate(width-width*0.513+width/2*cos(radians(120)),(height-height*0.07129)-width/2*sin(radians(120)));
  rotate(radians(-30));
  text("120?",0,0);
  resetMatrix();
  translate((width-width*0.5104)+width/2*cos(radians(150)),(height-height*0.0574)-width/2*sin(radians(150)));
  rotate(radians(-60));
  text("150?",0,0);
  popMatrix();
}
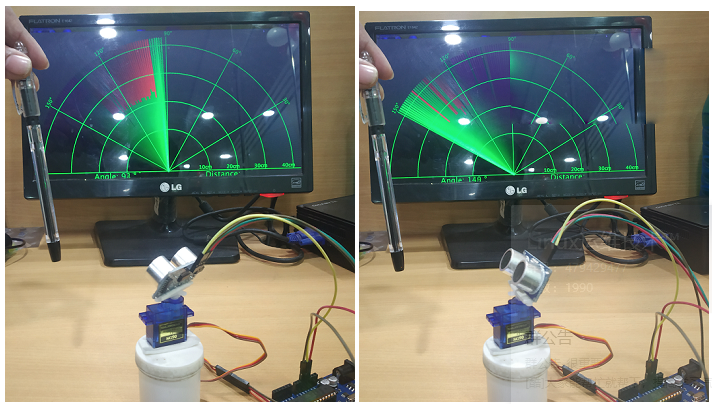
現在,運行 processing 應用程式並將對象(筆)放在超聲波設備前面。當伺服電機旋轉且物體進入超聲波裝置範圍內時,物體的外觀就會出現在顯示幕上。物體的存在用紅色標記標記,如果超聲波設備處理應用範圍內沒有物體,則顯示綠色標記。

